
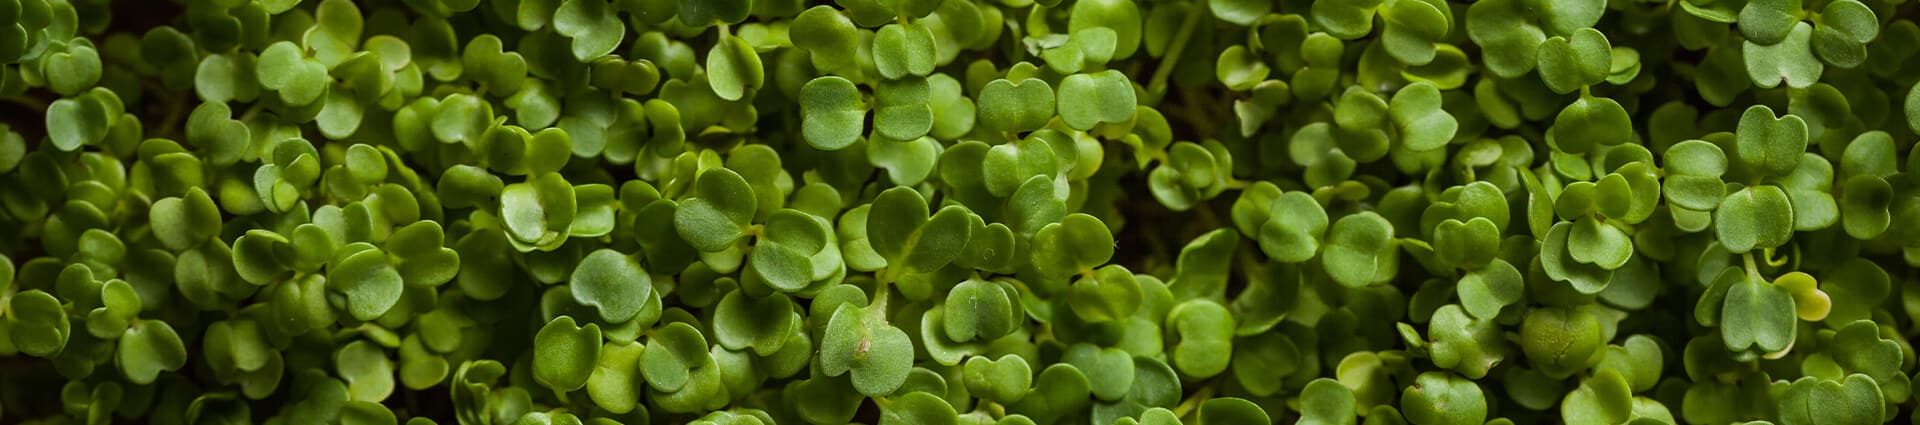
19 Sep How to Start Seedlings Indoors
There’s nothing like the feeling of growing your own food. Seeing the labor of your hard work literally bear fruit (or vegetables, or leaves, or…) is incredibly satisfying, not to mention delicious.
Not only are you providing for your family nutritious, pesticide-free greens, but you’re also reducing your carbon footprint by eliminating the unnecessary environmentally-damaging steps of mass food production and delivery.
One of the most challenging hurdles of growing your own is right at the beginning—when you’re starting from seedlings. At their most delicate stage, your plants are incredibly vulnerable to rotting and soil-borne diseases.
Luckily, with the right knowledge, you can successfully grow delicious vegetables and herbs. Here’s our guide to starting seedlings indoors.

The seeds
First thing’s first: choose what you want to grow! You’ll want plant your seeds around six weeks prior to the last frost in your area. That might be a bit difficult to determine, especially if you’re new to growing.
This guide from Almanac is a good place to start, and helps you determine the best planting dates in your area.
The best practice is to prep your seeds before you plant. This will improve the germination rates of seeds with harder coats, meaning your plants will sprout sooner rather than later.
There are three methods you can go with, depending on the type of seed that you use. They are: scarification, stratification, and soaking.
Scarification
As silly as it sounds, some seeds have protective coatings that are, well, overprotective. Sometimes these waterproof coatings prevent the seeds from germinating, but usually in nature, this barrier is broken down.
What you can do to prepare these types of seeds is scratch that seed coating so water can permeate the seed. Use coarse sandpaper to do this, but make sure that you don’t make any deep scratches, as that can damage the seed itself. Also, try your best to sow these seeds immediately, as they’ll be quite exposed once you scratch them.
Stratification
Chemicals in these types of seeds—perennials, trees, etc.—actually prevent germination. In order to inhibit these chemicals, they need to be chilled and warmed.
To do this, you’ll need to soak them in water for at least 24 hours. For the bigger seeds, fold them into a piece of damp peat moss, and mix smaller seeds with moist vermiculite. Place them into a plastic bag, and seal. Refrigerate the seeds and pick them out from the vermiculite/peat boss before sowing.
Soaking
Soaking helps soften up those protective coats. Without doing so, it may take a while before you see them go through germination.
This would probably be the simplest method, best for seeds like beets, chard, peas, and parsley, and all you have to do is soak your seeds in tepid water for a minimum of four hours, and up to 24.
You’ll need to sow these seeds immediately, but be sure to skim off any seeds that are floating (as they probably aren’t viable), and rinse your seeds off with fresh water before you do so.
The stuff
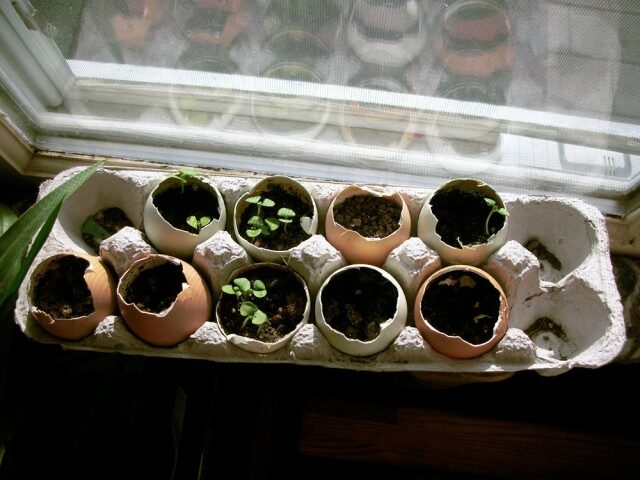
As with planting anything, ensure that the containers that you’re using are clean, as old containers may carry bacteria that will harm your plants.
Ensure that there are some holes so that your containers will drain, as too much moisture may leave you with rotting plants. Individual containers are ideal as then the roots of your plants won’t tangle and clump up together.
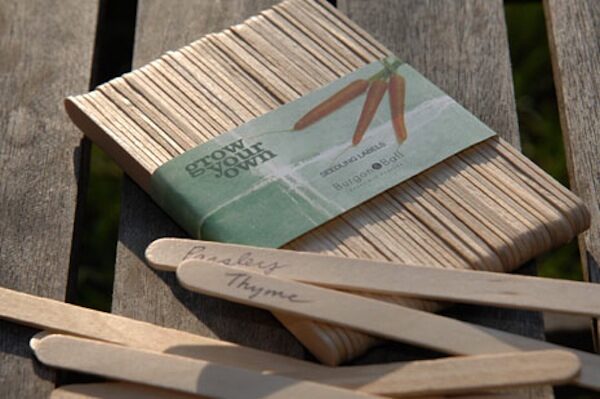
In order to get started, you’ll also need: soil mix, a watering can, and labels. Do not underestimate the power of labelling. You will, guaranteed, mix up plants if you don’t label them.
In order to stimulate germination, you’ll need to create a humidity dome of sorts. Use plastic wrap to trap heat and moisture to allow for this to happen.
The space
Find somewhere with a lot of light, as you’ll need a lot of light and warmth for your seeds. Many people find that light from windows not to be enough. In this case, create a station of artificial light using fluorescent lights in order to encourage the most growth.
Your seeds will need a temperature of around 75 degrees for several hours a day in order to trigger germination.
The soil
Don’t just use your run-of-the-mill garden soil! Your starting mix needs to be free of weeds and toxins, and high quality seeding mix will actually deter soil-born pathogens from existing.
You need stuff that will retain water and air (as oxygen promotes cell growth in your seeds). A good starting mix may consist of vermiculite/perlite and peat moss.
As seeds contain enough nutrients to keep it going throughout the germination stage, your starting mix doesn’t need to have nutrients. Having said that, still ensure that it is of the highest quality. It should be fine in texture, moist, and spongy.
It is crucial that your starting mix is moist before you sow your seeds.
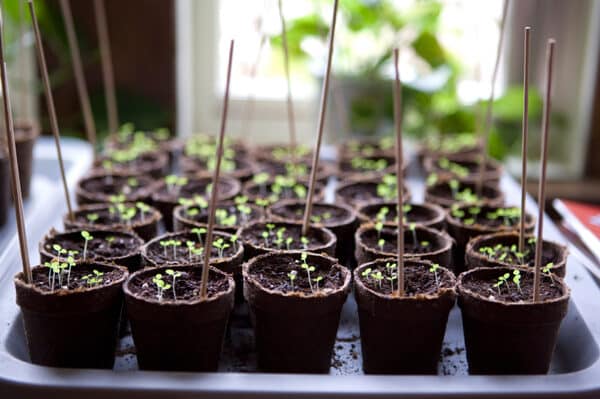
The sow
Now comes the fun part. Make little divots in your soil, roughly 1/4 to 1/2 inch, and space them at least one inch apart.
Place two to three seeds into each pocket, and cover gently with the starting mix. Don’t pack the soil, as light still needs to penetrate the soil.
Cover your container—lined with newspaper so that you don’t make a big mess when you water—with plastic wrap, and place in a warm area of your home.
Make sure to check your plants every day so you can watch the magic happen!
Once the leaves of your plant begin to grow, you’ll have to move them into their individual pots. Otherwise, the roots will continue to try to stretch and grow in this cramped area, but will be unable to actually do so.
To transplant, gently jiggle the plant by the main stem, using a fork or small shovel for assistance, to loosen up the roots from the soil. Then, transfer the plant into its individual pot.
At this point, make sure you use nutrient-rich soil, as seeds only have about three weeks’ worth of nutrients.
The solution
Growing your own at home can, especially transplanting, can be a messy task. So what’s the best way to start seedlings quickly and easily, without having to risk rotting plants and making muddy messes?
Simple: grow fresh microgreens, herbs, and vegetables in an Urban Cultivator indoor garden unit. When Urban Cultivator, the work is minimal with automatic lighting, watering, and humidity controls, and eliminates transporting completely. All you need to do is plant the seeds, and the Urban Cultivator unit takes care of it.
Do you have any tips on how to start seedlings? Let us know in the comments section!