
23 Dec It’s Going Bad, But It’s Good For You: All About Fermented Food
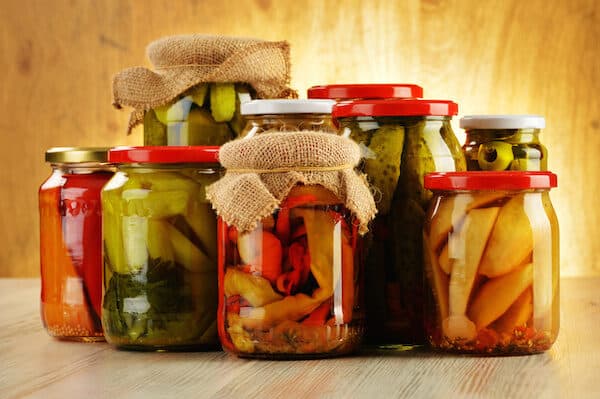
Amongst the many health food trends, fermented foods are one of the most popular items on the menu. It’s an age-old practice, first used for the sake of preserving food.
Remember: your ancestors had to grow everything in their diet, meaning that seasonality really had a say in what they got to eat. Food was harvested in one season, and if you wanted to get the most out of that harvest, you had to preserve it.
Keeping with traditions
The most traditional and trusted method of preservation was lacto-fermentation. Despite its prefix “lacto,” lacto-fermentation actually has nothing to do with dairy products. Rather, “lacto” represents “lactic acid,” the product of this method of fermentation.
Natural bacteria (Lactobacillus, to be exact) feed on the sugar and starch in the food to create lactic acid.
We’ve since come up with more “advanced” ways to ferment food, using commercial yeast, pasteurization, and vinegar. But with these methods, gone are the good bacteria that come with lacto-fermentation.
The goods
That traditional method produces enzymes that are good for us, on top of B vitamins, Omega-3 fatty acids, and various strains of probiotics.
In addition to preserving nutrients and creating the above nutrients, natural fermentation also breaks down your food to a more digestible form (in particularly, it breaks down hard-to-digest cellulose), which helps one’s digestion.
Fermented food also has the ability to help you absorb more of the nutrients in the food you eat thanks to all of its beneficial bacteria and digestive enzymes.
How can you adopt fermented foods into your diet? Head into the kitchen and make a classic fermented dish that’s got a naughty little kick to it—kimchi!
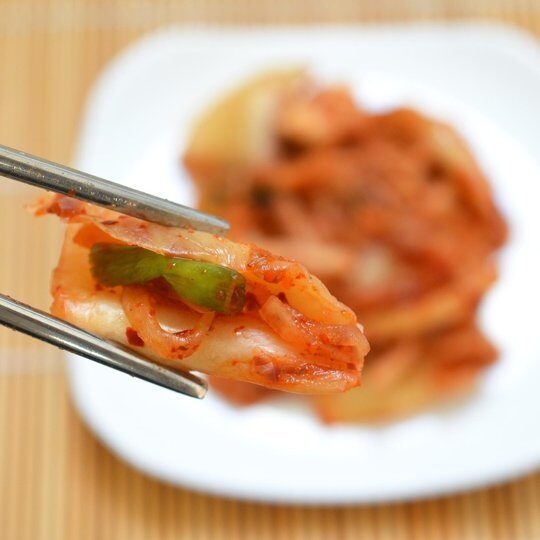
Cabbage Kimchi
From The Kitchn
Ingredients
1 (2-pound) head napa cabbage
1/4 cup sea salt or kosher salt (see Recipe Notes)
Water (see Recipe Notes)
1 tablespoon grated garlic (about 5-6 cloves)
1 teaspoon grated ginger
1 teaspoon sugar
2-3 tablespoons seafood flavor or water (optional, see Recipe Notes)
1-5 tablespoons Korean red pepper flakes (gochugaru)
8 ounces Korean radish or daikon, peeled and cut into matchsticks
4 scallions, trimmed and cut into 1-inch pieces
Equipment
Cutting board and knife
Large bowl
Gloves (optional but highly recommended)
Plate and something to weigh the kimchi down, like a jar or can of beans
Colander
Small bowl
Clean 1-quart jar with canning lid or plastic lid
Bowl or plate to place under jar during fermentation
Instructions
1. Cut the cabbage. Cut the cabbage lengthwise into quarters and remove the cores. Cut each quarter crosswise into 2-inch-wide strips.
2. Salt the cabbage. Place the cabbage and salt in a large bowl. Using your hands (gloves optional), massage the salt into the cabbage until it starts to soften a bit, then add water to cover the cabbage. Put a plate on top and weigh it down with something heavy, like a jar or can of beans. Let stand for 1-2 hours.
3. Rinse and drain the cabbage. Rinse the cabbage under cold water 3 times and drain in a colander for 15-20 minutes. Rinse and dry the bowl you used for salting, and set it aside to use in step 5.
4. Make the paste. Meanwhile, combine the garlic, ginger, sugar, and seafood flavor (or 3 tablespoons water) in a small bowl and mix to form a smooth paste. Mix in the gochugaru, using 1 tablespoon for mild and up to 5 tablespoons for spicy (I like about 3 1/2 tablespoons).
5. Combine the vegetables and paste. Gently squeeze any remaining water from the cabbage and return it to the bowl along with the radish, scallions, and seasoning paste.
6. Mix thoroughly. Using your hands, gently work the paste into the vegetables until they are thoroughly coated. The gloves are optional here but highly recommended to protect your hands from stings, stains, and smells!
7. Pack the kimchi into the jar. Pack the kimchi into the jar, pressing down on it until the brine rises to cover the vegetables. Leave at least 1-inch of headspace. Seal the jar with the lid.
8. Let it ferment. Let the jar stand at room temperature for 1-5 days. You may see bubbles inside the jar and brine may seep out of the lid; place a bowl or plate under the jar to help catch any overflow.
9. Check it daily and refrigerate when ready. Check the kimchi once a day, pressing down on the vegetables with a clean finger or spoon to keep them submerged under the brine. (This also releases gases produced during fermentation.) Taste a little at this point, too! When the kimchi tastes ripe enough for your liking, transfer the jar to the refrigerator. You may eat it right away, but it’s best after another week or two.

It’s kind of funky
Evidently, fermentation isn’t just a fad; it’s a certified method of food preservation that not only tastes great, but does wonders for your body.
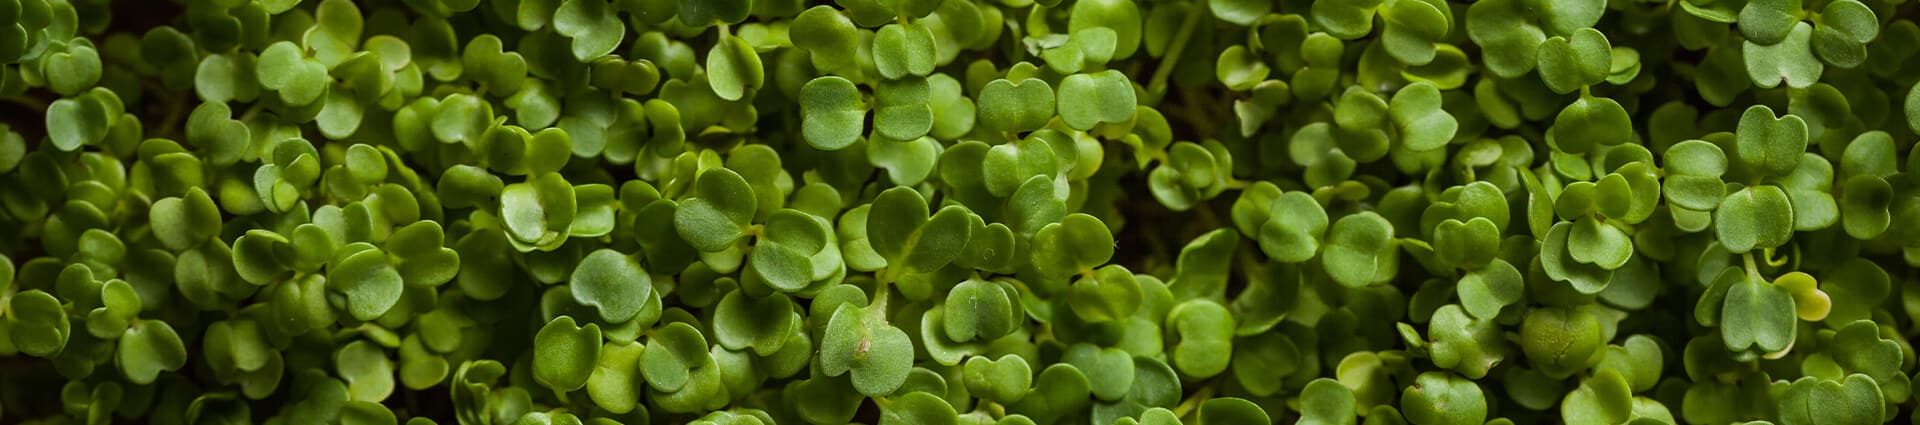
Like anything else you make, you should always start with the best ingredients. Food grown in an Urban Cultivator is the freshest, most flavorful microgreens, vegetables, and herbs you can get. Grow over 35 varieties of greens, and try fermenting them to get the most out of your food!
What are your thoughts on fermentation? Which foods do you like to ferment? Let us know in the comments section!